Wiggle Room - Vermicomposting and Worm Castings in Connecticut
  • Home
  • Store
  • Research
  • Microscopy
  • About
  • Home
  • Store
  • Research
  • Microscopy
  • About
Search

Starting your own worm bin (stackable + homemade):

If you're here you know the benefits of worm composting and want to get started making your own castings. Here you'll find a video on putting together a stackable worm bin and some steps for building your own simple home worm bin.

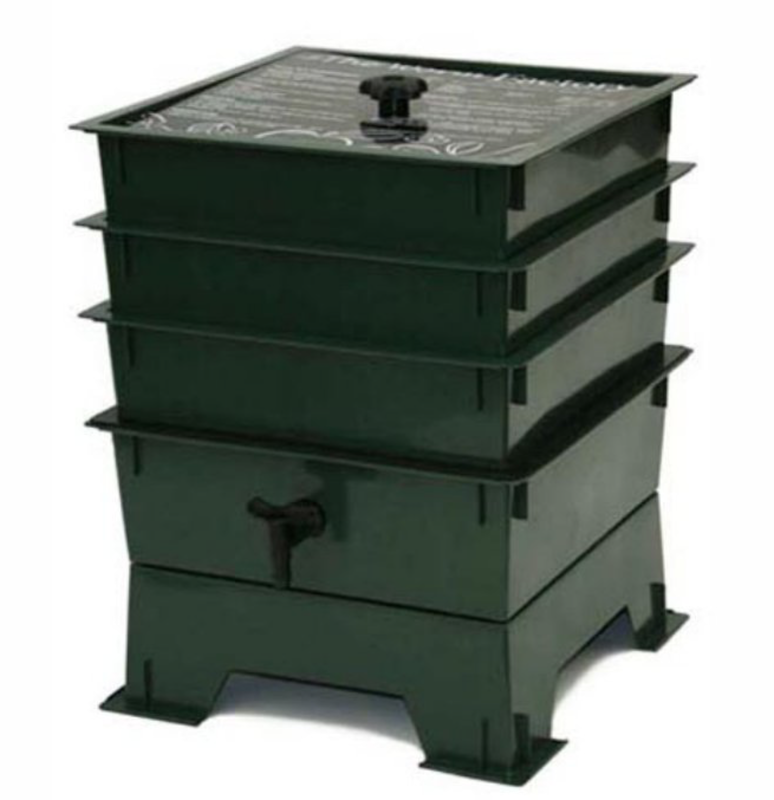
Here's a quick video on putting together a stackable worm bin


And here are the steps for building your own bin at home
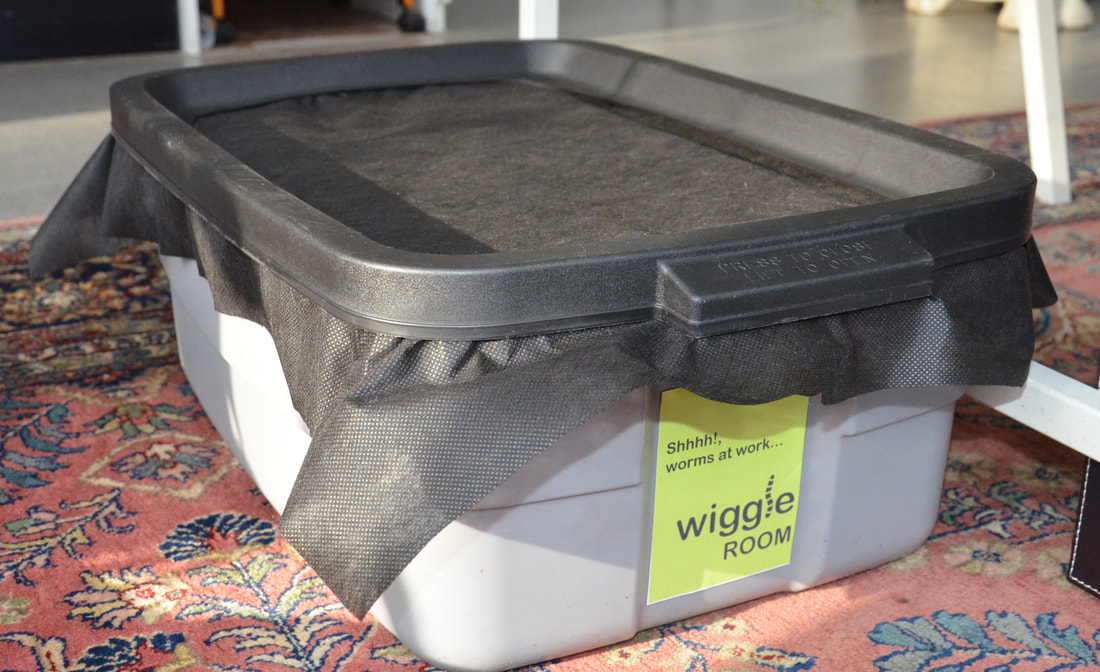
Step 1: The Bin

The first thing you need is your bin
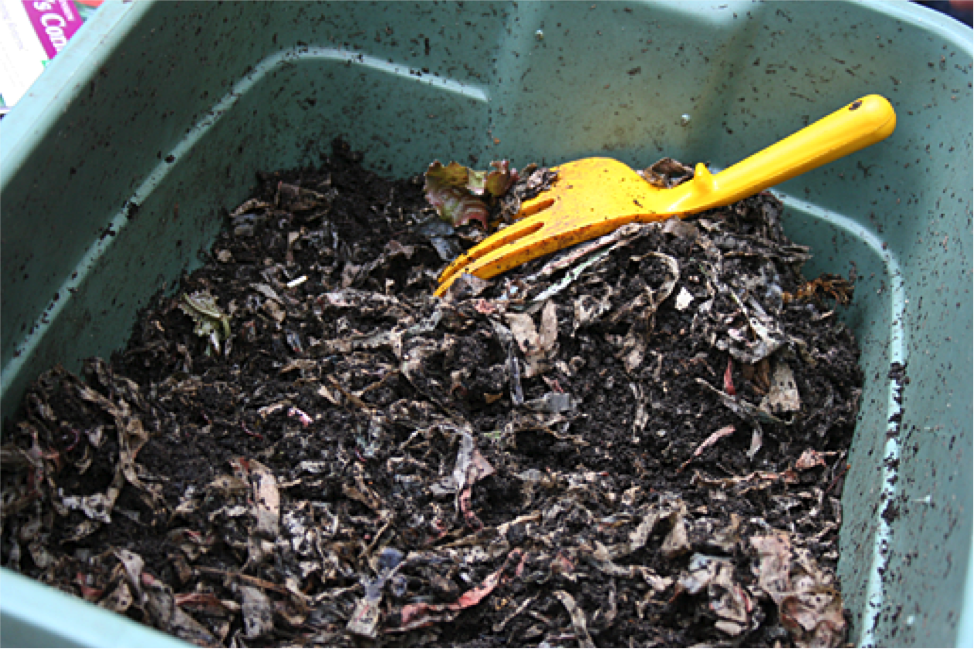
  • We recommend a 10 gallon tote or similar bin. Cut out the lid and cover the opening with 'weed control fabric.'
  • Other personal worm composters are available, such as the stackable bin on the right.
Picture
Picture

Step 2: The Bedding

The next thing you need is bedding for the worms to live in
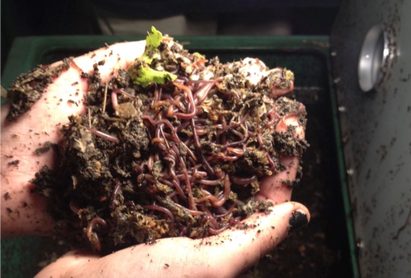
  • Start with soil from under an old growth tree which forms a nice base and adds some good fungi.
  • Add shredded paper, shredded leaves, and small bits of cardboard.
  • You can also add some thermophilic compost or normal topsoil to increase your bedding level.
    • The bedding should fill around half your bin.
  • Mix your bedding around and add dry soil or wetted cardboard bits to get the overall moisture level of your bin to around 70%.
Picture

Step 3: The worms

We recommend using Red Wiggler (Eisenia Fetida) composting worms. They are the most efficient at breaking down food scraps and work great in home composting bins.
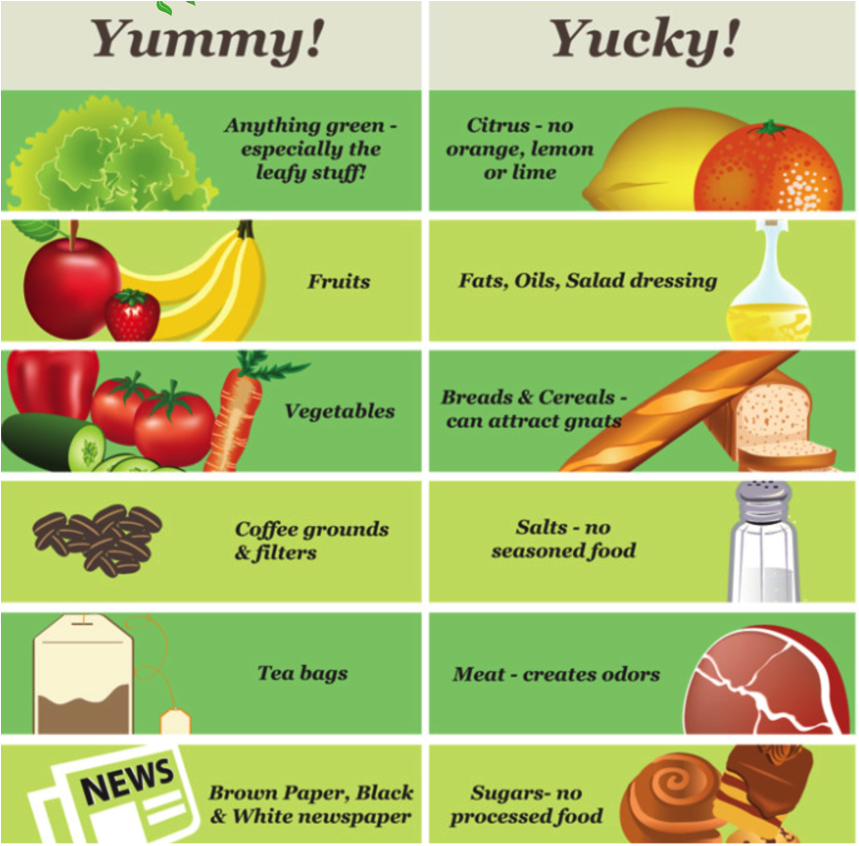
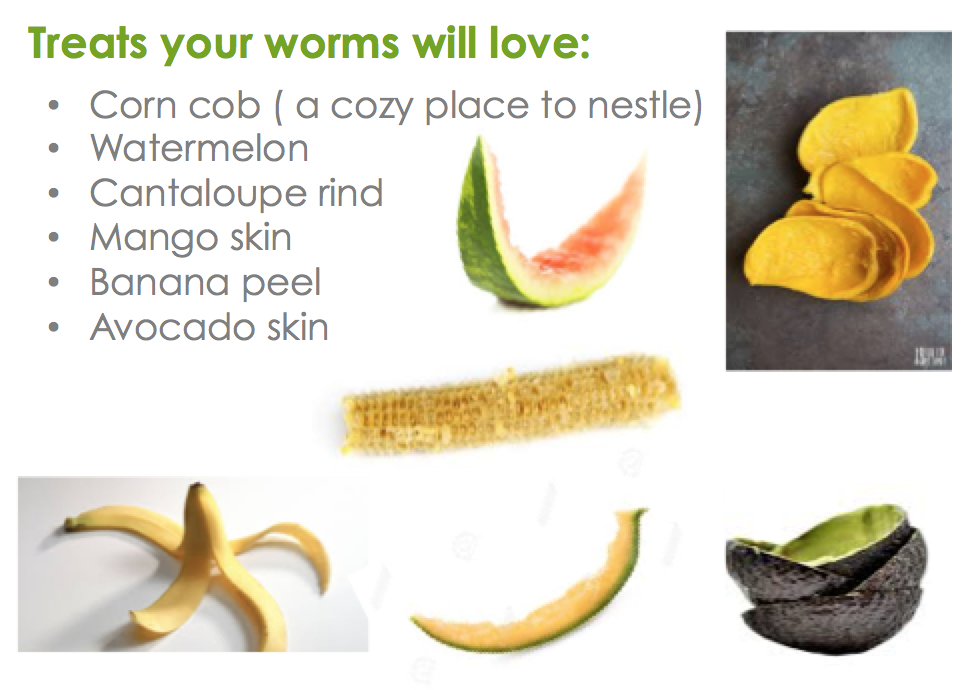
  • You will need around 1000 worms (1 lb.) to start your 10 gallon worm bin.
  • Red Wiggler worms can be purchased online.
  • Wiggle Room sells worms when supplies allow. We are careful to maintain a consistent population for best production and a healthy balance in our bins.
Picture

Step 4: The Food

We recommend adding a mixture of inputs every 5-7 days. This will cause worms to go through the existing food more thoroughly, producing purer castings.
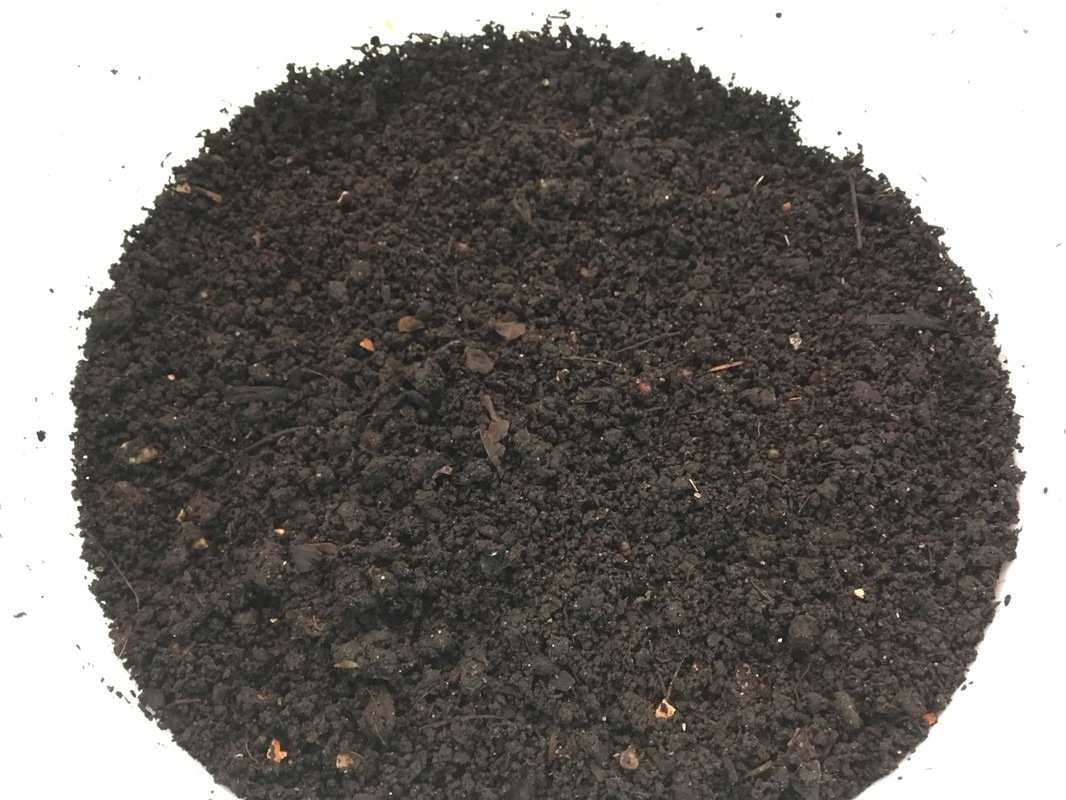
  • Red wiggler (Eisenia Fetida) worms eat the bacteria formed from decomposing food and other organic matter.
  • Add small pieces or ground up bits of vegetable scraps, eggshells, coffee grounds, etc.
    • Larger pieces can take a long to time break down and attract insects such as fruit flies.
  • Feeding is also a good way to balance your bin's moisture content. (70% moisture is recommended; material will clump together when squeezed, but easily crumble apart again.)
    • Too dry:  Add wetter foods or feed more often
    • Too wet:  Add drier foods or feed less often 
      • You can also add shredded paper or cardboard scraps to absorb excess  moisture.
  • If worms are trying to escape you may need to add more food.
  • If you see food left over from an earlier feeding you may need to feed less or remove larger food scraps.
Picture
Picture

Step 5: Harvesting

Simple 10 gallon tote:  
After 3-4 months you will be ready to start harvesting your worm castings.
  • Start by feeding one side of your worm bin for 2-3 weeks.
    • This will cause most of the worms to migrate to that side.
  • Harvest finished castings from the opposite side.
  • Repeat this process, feeding only on the other side for 2-3 weeks.
  • Harvest from the second side.

​Stackable worm system:
  • When the first level of your worm bin is full, add a second tray and put new food in this tray.  Worms will migrate up to the next level, leaving 'finished' worm castings ready for harvesting.
Picture
Picture

Home

Store

Worm Castings

Microscopy

About

Wiggle Room LLC
​136 Lounsbury Road
Ridgefield, CT 06877
[email protected]
(203) 858-8829
  • Home
  • Store
  • Research
  • Microscopy
  • About